-
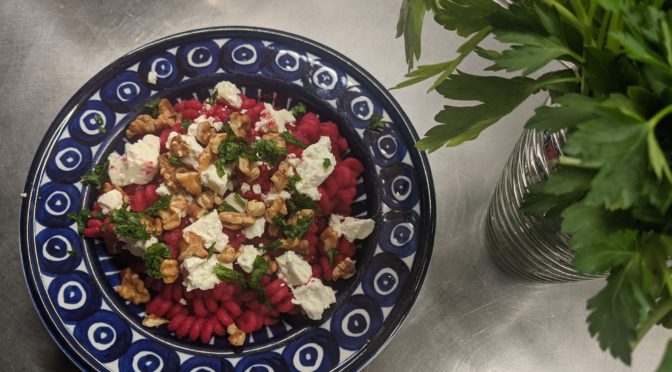
Roasted Beet & Garlic Linguine with Walnuts & Feta
-
Cheese Filling for Blintzes
First off, the amount of farmer cheese is a range because the primary producer of packaged farmer cheese, Friendship Dairies, has reduced the size of their packages from eight ounces to seven. If you can buy farmer cheese in bulk, buy the larger amount, but also, don’t bother buying 3 packages of farmer cheese just…
-
Oniony Potato Filling
-
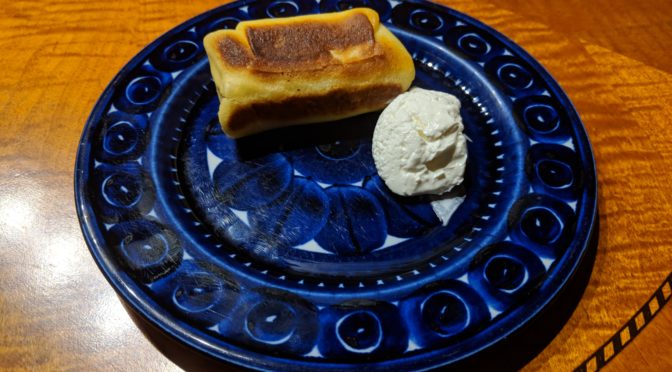
Blintzes
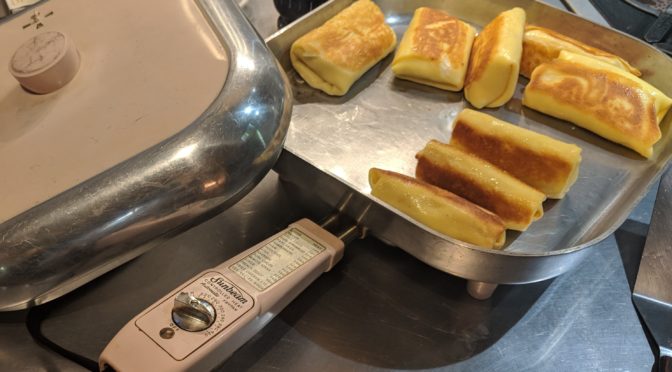
While this might sound like a big production, in fact you can throw these together pretty quickly once you’ve done it a couple times. The entire process consists of these steps: make the filling(s), make the batter, cook the blintz wrappers, form the blintzes, cook them, eat them. I prefer to make the filling first…
-
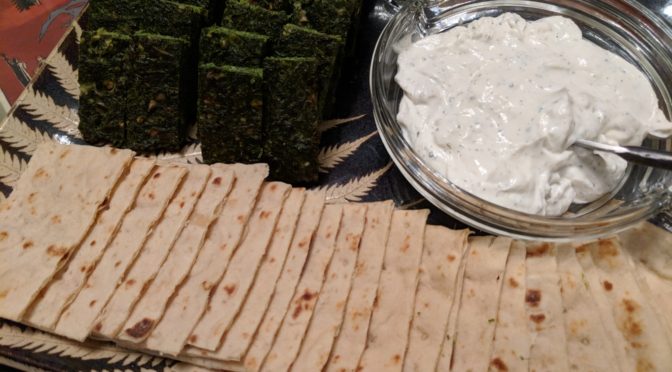
Fresh Herb Kuku
-
Flourless Orange and Almond Cake
-
Farfalle with Wild Mushrooms
Makes 2 servings 1 whole head of garlic 4 plum tomatoes ¼ cup dried porcini (scant ½ ounce) ½ pound assorted fresh mushrooms such as shiitakes and chanterelles ¼ cup olive oil 1 large shallot 2 tablespoons Marsala ½ pound farfalle 1½ tablespoon butter ½ cup shaved parmesan 6 fresh basil leaves Preheat the oven…
-
Fettuccine with Grated Beets and Cheese
In a large heavy saucepan, over a high heat, toast 3 tablespoons poppy seeds stirring until they smell slightly nutty. It takes about 2 minutes. Remove from pan and set aside. Add 5 tablespoons unsalted butter to the same pan and cook over moderate heat until the butter starts to brown, about 5 minutes. Stir…
-
Ricotta and Coffee Cream
Put 1½ pounds fresh ricotta ⅔ cup sugar 5 TBL dark rum ½ cup plus 2 TBL very strong espresso coffee, cooled in the food processor and process to a creamy consistency. Pour the mixture into six individual glass dessert dishes and store in the refrigerator overnight. Just before serving you may optionally garnish each…
-
Cabbage and Ginger Slaw
-
Pasta with Caramelized Onions and Cabbage
Heat in a large heavy skillet ¼ cup olive oil over medium-low heat. Add 2 large onions, cut into ¼-inch slices, broken into rings Salt and pepper Saute until soft and caramelized, about 30 minutes. Do not try to rush this step. Add 4 large cloves garlic, minced 6 cups thinly sliced cabbage 2 tablespoons…